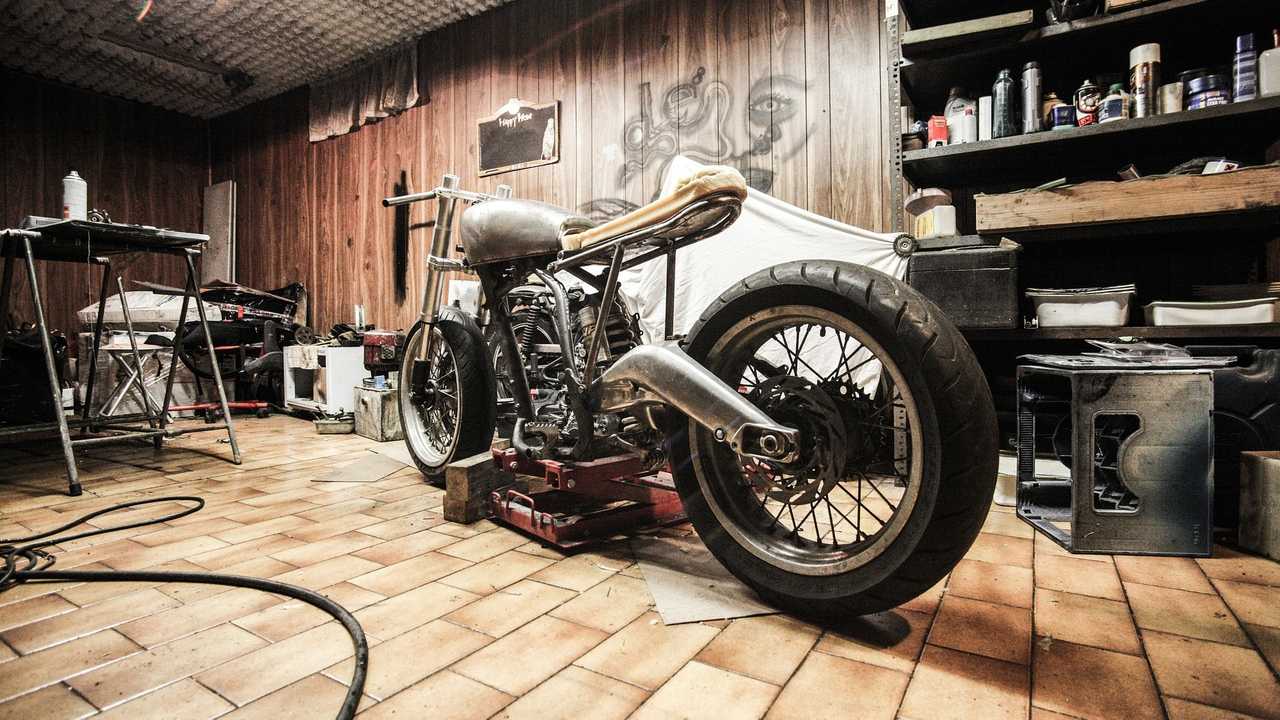
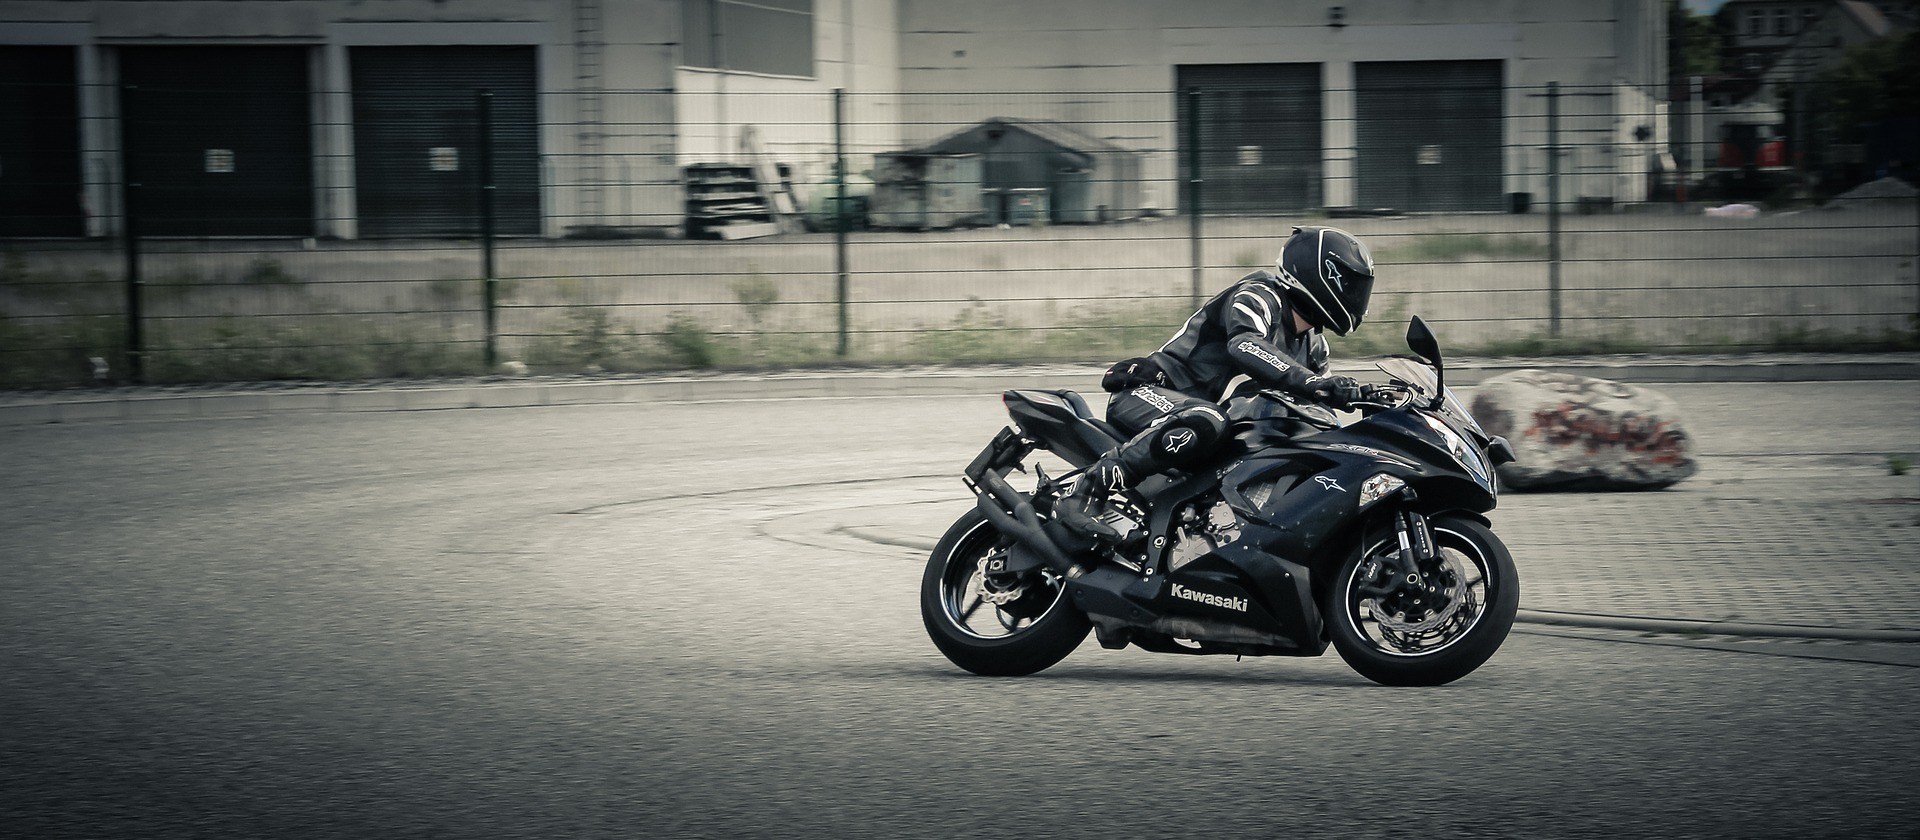
Having a custom motorcycle is a dream for most enthusiasts. But custom bikes are expensive, and often out of reach for the average person. Building a custom motorcycle is a lower-cost solution for creating a unique bike, and there are a wide variety of resources on the internet, making it easier than ever to source parts, consult experts, and learn new skills. To build a motorcycle isn't always an easy project, but it can be both enjoyable and satisfying.
For many people, it evolves into a lifelong hobby, as their projects grow in ambition and complexity.
Here are some ways to ensure success for a beginner:
How To Choose A Project Bike
For some riders just beginning their journey toward building a custom motorcycle, the choice of their first project bike is essential.
Choose an older model
Whatever the ultimate goal, the beginner should choose a project bike that is easy to work on, with widely available parts and expertise.
Older bikes have less complex electrical systems.
Most pre-2000 bikes have carburetors, both of which make customization easier in your home garage.
Choose a model of bike with inexpensive and easy-to-find second-hand and reproduction parts, and an active community of enthusiasts and experts who can consult if needed.
Older Harley-Davidson choppers and Triumph and Honda cafe racers are excellent choices.
Choose a bike that runs
While it may be more expensive to purchase an immediately rideable bike, it's an excellent way for the beginner to start down the path of customization.
A motorcycle that runs provides a wealth of opportunities to polish build and repair skills, while still providing all the pleasure of riding.
Starting with a motorcycle that runs helps to constrain the scope and budget of customizations, maximizing budget and minimizing problems down the road.
Once the project bike is selected and purchased, immediately obtain the factory service manual and parts manual for that model of motorcycle.
These will be invaluable resources in the future.
Recommend to you: Best Sellers in Motorcycle Repair & Performance (book) and How to Build a Motorcycle book written by Gary Inman
Practice and Practice To Perfect
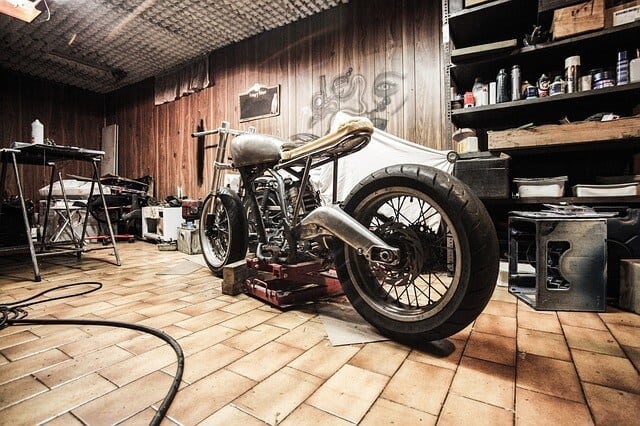
The best thing any rider can do, beginner or expert, after purchasing an older motorcycle, is take it apart, clean it, and reassemble it.
This process alone makes an old bike look great and run better, and is a fantastic opportunity for newcomers to practice skills and learn about customizing bikes.
The process of tearing down a working motorcycle allows a beginner mechanic to:
Aside from that you might also want to buy or build your own lift table. Check this great post by Floor Jacks Center.
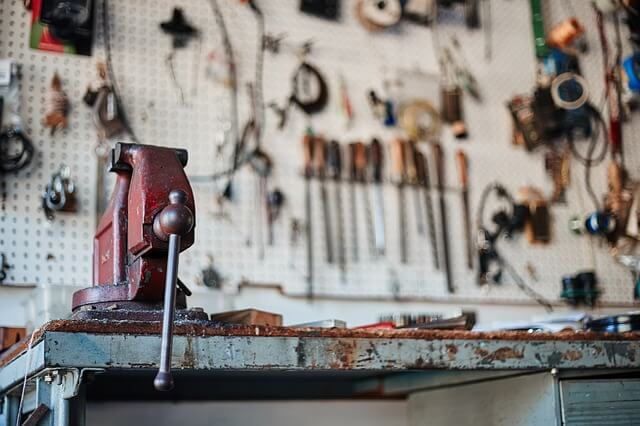
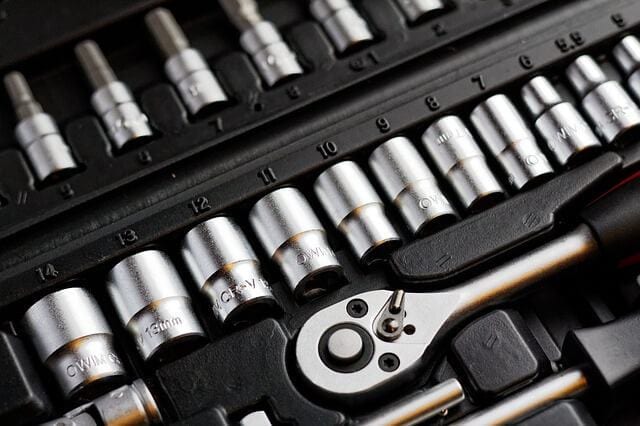
Ensure You Have Necessary Tools To Build A Motorcycle
Learn important workflows
Inventory all the parts during teardown
The longer the build takes, the less likely it is that the mechanic will remember where everything originally was or how it went together.
Take photographs of every part before and after disassembly, to guide later rebuilding.
Store parts, nuts, and bolts together (a plastic freezer bag is ideal) and write on the bag what the part is and where it goes.
While disassembling the bike, keep a running list of parts that need to be replaced.
Thoroughly clean all the components. There are a variety of commercial degreasing solutions and cleaning solvents available to remove years of accumulated dirt, oil, and grease from an old motorcycle.
Most of these need to be used, stored and disposed of with extreme caution.
Beginners and experts alike should thoroughly read warnings and indications on the label, and always use these products according to the instructions.
It's also important to check local regulations regarding the storage and disposal of these solvents.
Everyone should wear eye protection and chemically resistant gloves, and be especially attentive if children or pets have access to the working area.
(click here to read our motorcycle vs cars comparison guide)
Replace worn parts
As a general rule, the following parts on an old motorcycle are likely to be unreliable and should be replaced:
- check Filters. Oil, fuel, and air filters are inexpensive and easily replaced, so there's no reason to continue to use older ones that may not be as effective.
- check Rubber parts. Hoses, grips, and probably even the tires should be replaced. Rubber degrades easily with time and sunlight, so these parts should all be inspected and replaced.
- check Roller bearings. Wheel bearings wear out over time and become unreliable. Replacing them ensures that they are in peak condition.
- check Wiring harness. If the wiring harness is old, and especially if a prior owner modified it, it should be discarded and replaced.
The process of tearing down, cleaning, and reassembling an old bike is a great first start toward customization.
The real test, of course, is whether it still runs afterward, and this is a strong argument for buying a motorcycle that ran to begin with.
If it doesn't run after teardown and reassembly, troubleshooting and repair are much more straightforward than if it never ran, to begin with.
Some related products: Bluetooth Headsets, Alarms & Anti-Theft, GPS, Electrical Device Mounts. Stands, Covers.
Check out this video by Dan from "Do It With Dan":
Also Read: Best Motorcycle Helmet Brands
Beginning Customization Of Building A Motorcycle
With a little luck, the process of teardown, cleaning, and reassembling the project bike has improved the look and performance of the motorcycle with minimal off-road time.
It's also made the new owner deeply familiar with their specific machine, and given them an opportunity to acquire the skills and tools necessary to work on it.
Along the way, they probably made a few mistakes and learned some things the hard way, but that's part of the customization process.
The best next step is to begin to customize the project bike one component at a time.
Modifying individual components gives more practice building toward expertise, lowers the cost of the project, and allows the bike to continue to be on the road, rather than spending months or even years in the shop.
Here are some common modifications that can be done on an existing project bike:
Small upgrades.
Motorcycle fine details, like seat, tires, grips, windshields, and foot pegs are all simple projects that go a long way toward creating a custom look and feel.
Paint, chrome, and powdercoating.
Nothing has a more immediate impact on the look of a motorcycle than new paint and chrome, and it's a great opportunity to explore customization.
Ambitious owners can try stripping, priming, and painting small parts in their own garage with commercially available products, while larger parts are typically sent to a professional for painting.
When packaging parts to ship for painting, wrap them carefully and make sure they are well-padded.
Many paint shops will send parts back in the same packaging they received them in, so taking care before shipping will help ensure that the parts are carefully returned.
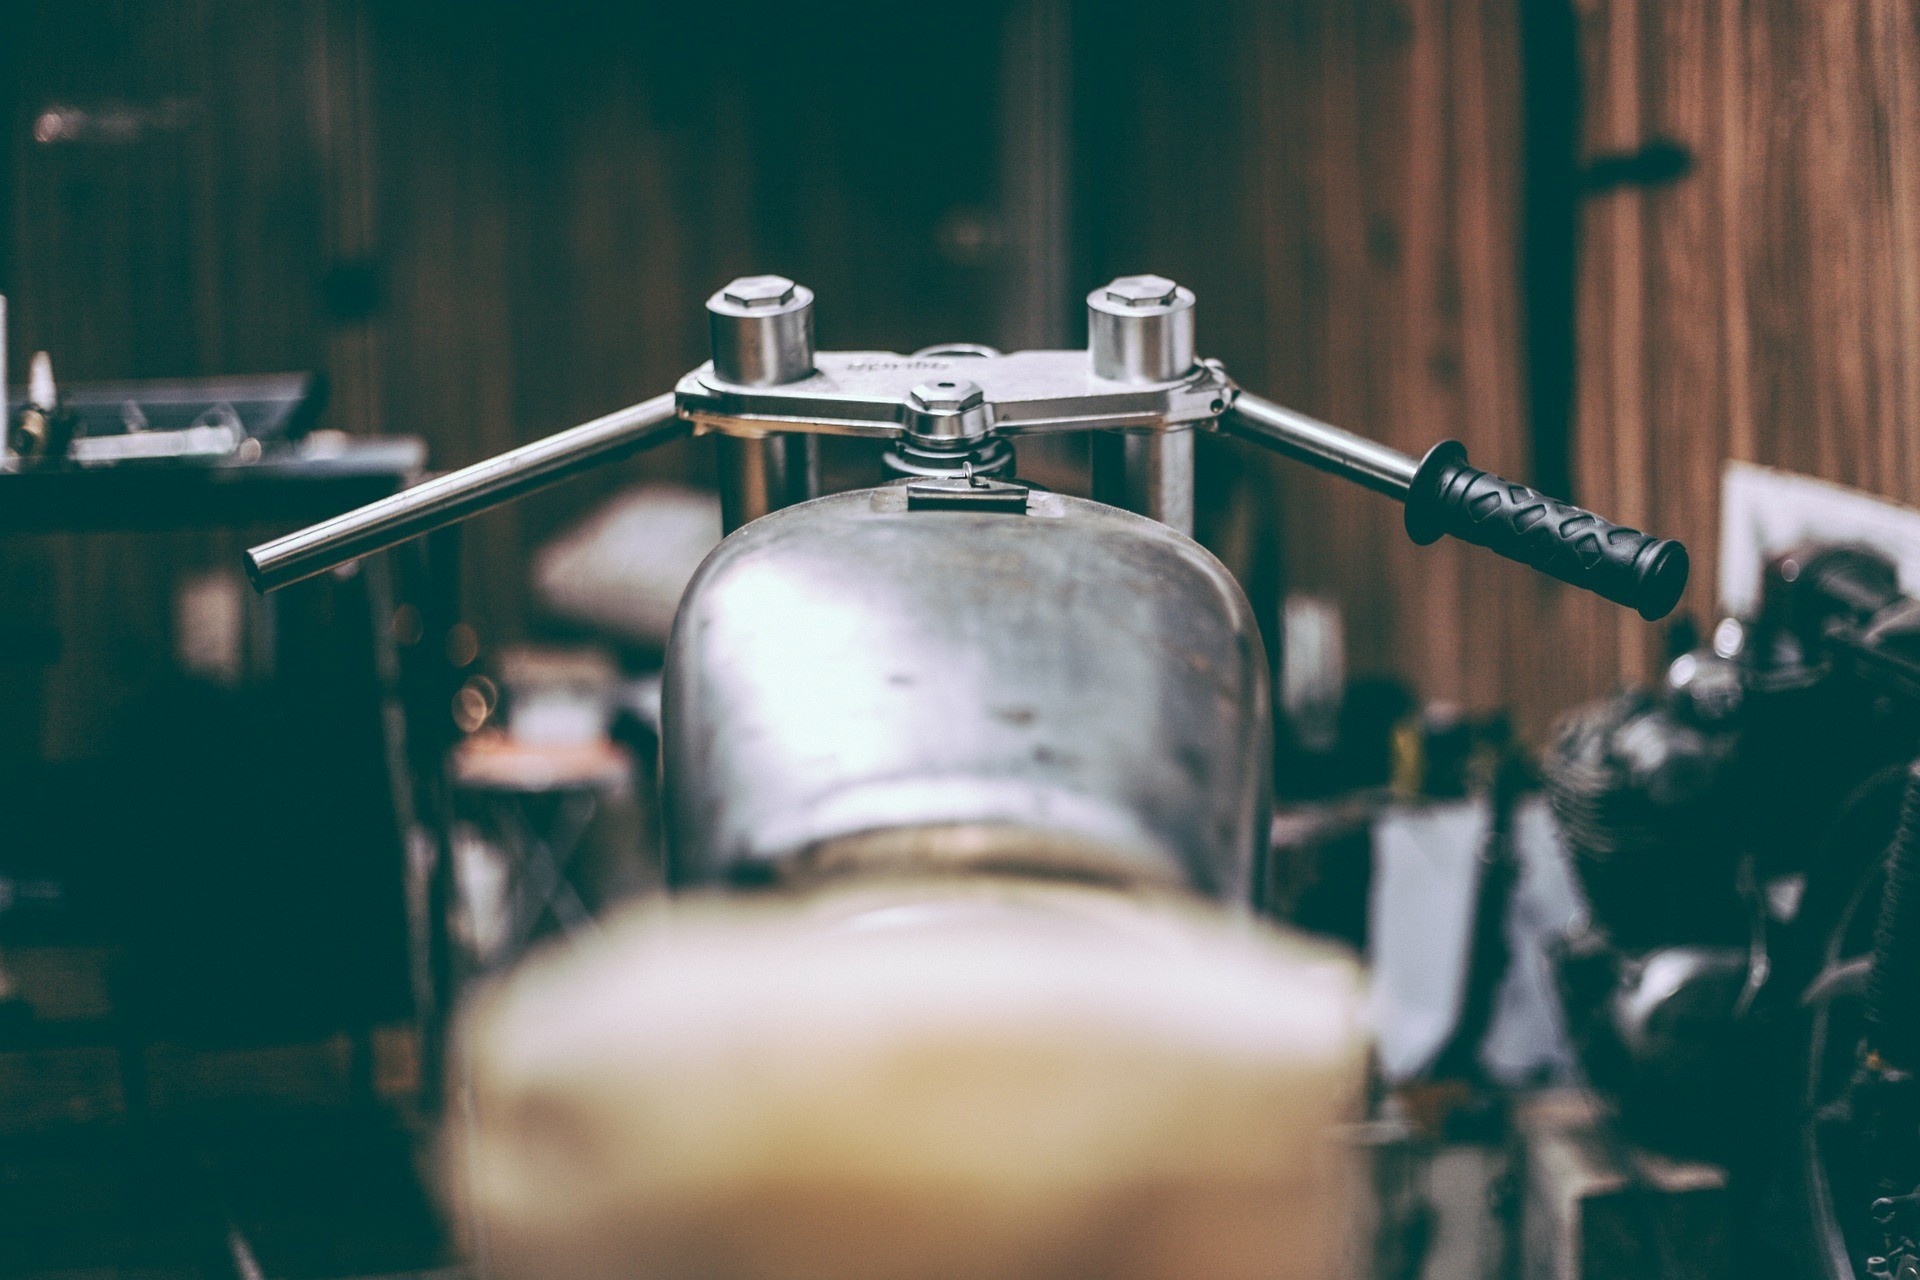
Change the handlebars.
Replacing the handlebars is a relatively easy project that can significantly impact the appearance and ride of a motorcycle.
As long as the new bars match the diameter of the existing ones, the angle, rise, and sweep are largely a question of personal preference.
Upgrade the exhaust.
Custom exhaust is an ambitious project but presents another great opportunity for the beginner to learn on a project bike.
The complexity of custom exhausts depends greatly on the model of the motorcycle, and attention should be paid to local laws and regulations regarding sound and emissions.
A custom exhaust is a sure-fire way to make a motorcycle look and sound unique.
Doing Custom Work
Doing a number of custom jobs on an existing bike not only makes it look, sound, and ride in a way that exactly suits the owner's preferences, but it informs all the processes and skills that will be necessary when building a custom bike from scratch.
It provides ample opportunities to finesse small changes, spread the cost out over time, and show off the progression to other enthusiasts.
Furthermore, undertaking these smaller incremental steps gives the builder the chance to get and use a wide array of tools, and explore the potential or limitations of their workspace.
After customizing a project bike, a beginner should now have the skills and experience necessary to build a custom motorcycle.
Some related products: Helmet, Helmet Speaker, Jacket.
Building A Custom Motorcycle From Parts
Design the dream bike
Building a custom motorcycle starts with a drawing. No custom bike can begin without a clear vision of the completed motorcycle.
Those who can't draw with a pencil can draw on a computer, or use photoshop to piece together different components into the final design.
The design should consider not only what the bike will look like, but what it will be used for.
Buy the frame
Designing, building, or modifying a frame is not a job for an amateur.
Poorly executed assembly or modifications to the frame will make the bike unsafe.
DIY-ers should purchase an existing frame from a salvage yard, parts store, or online.
Keep in mind that many online auction sites are timed for weekend shoppers; weekends are when there will often be the most products available, but also the most competition among buyers.
The buyer who knows specifically what they are looking for would do well to browse the marketplace often, or even set up Ebay and Amazon alerts to be automatically notified if a product becomes available.
Assemble a rolling chassis
Testing the design and build of a custom motorcycle begins with a rolling chassis.
This consists of the frame, rake, wheels, tires, brakes, front suspension, and fenders.
Check clearance from the ground to the frame, and make sure it is a minimum of four inches.
Make sure the tires line up with each other, are spaced evenly with the frame, and do not rub against the fenders.
It is at this phase that it becomes possible to truly visualize how the finished bike will look.
Install the engine and transmission
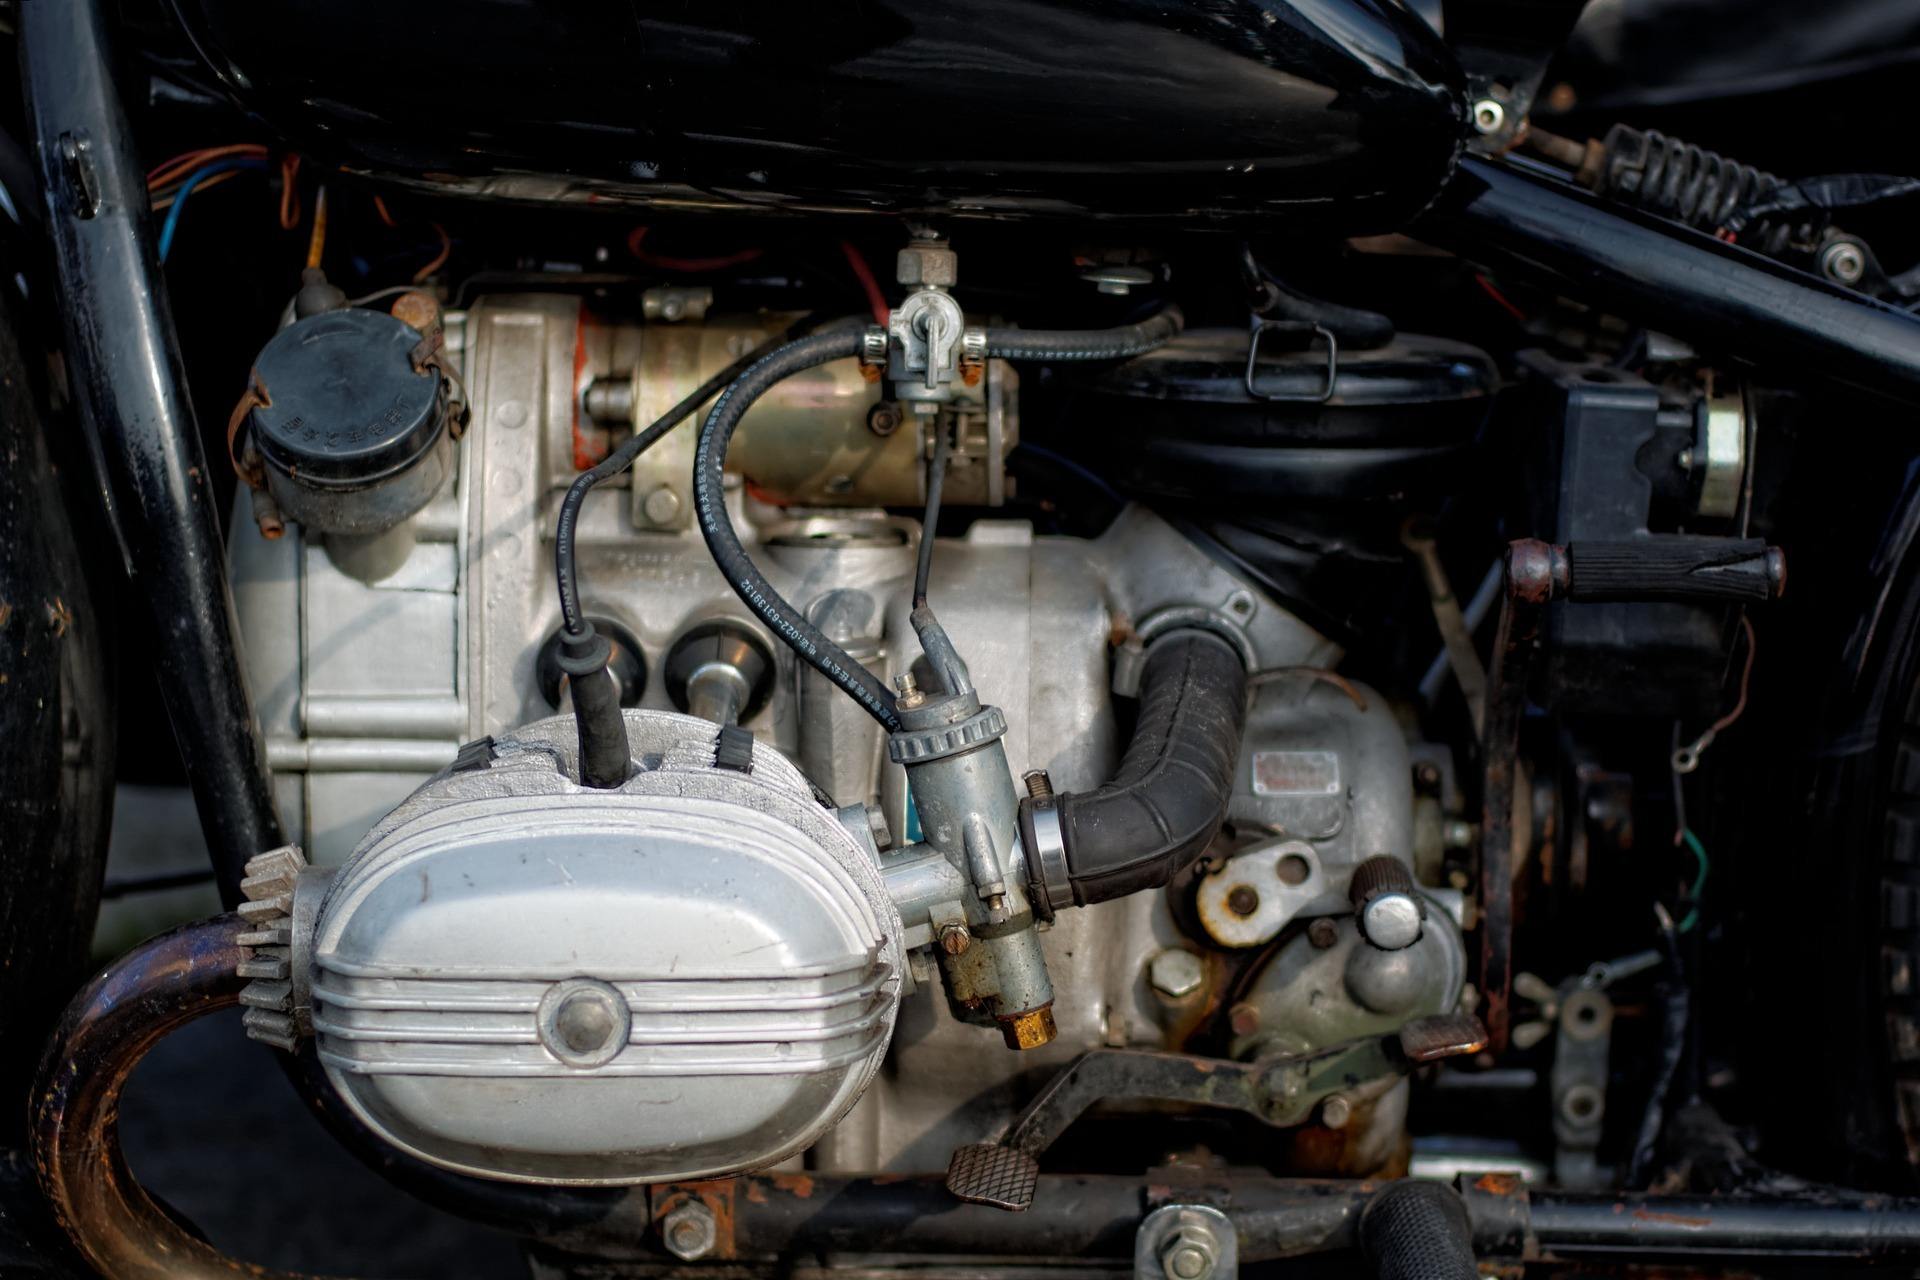
When buying an engine, the owner should inspect all internal and external parts. Ensure the case has no cracks and inspect the carburetor.
Then insert the primary case, making sure that the final drive system lines up. Also, install the footrests, brake pedal, and clutch levers.
The exhaust system
If the DIY workshop lacks the tools to properly bend pipe, then fabrication of the exhaust system may need to be outsourced to an exhaust shop.
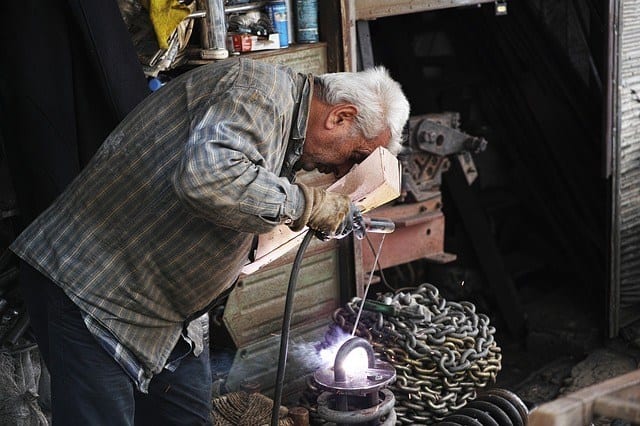
The exhaust system is attached to the engine cylinder's head with mounting phalanges and mounted using welding brackets as needed, determined by the exhaust design.
Mock up the gas tank and handlebars.
It is a good idea to work with both of these at the same time, as the size, scale, and placement of the gas tank and handlebars greatly influence each other and the overall look of the bike.
Most at-home garages lack the necessary tools to make a gas tank from scratch, but they can easily be purchased and modified.
Make sure that the handlebars do not hit the gas tank while turning.
Install the seat
Seats may be purchased used and reupholstered to match the desired look of the final motorcycle.
Finishing the initial build
Once the seat is installed, finish mocking up the motorcycle with mirrors, lights, signals, and the tag bracket. Then the bike should be disassembled for chrome and paint.
Complete the electrical system
When the motorcycle has been chromed, painted, and reassembled, it's time to install the electrical system.
This means installing the battery as well as running wires to power all the electrical components, including the lights.
Test drive
Finally, the custom motorcycle is ready for a test drive. Be prepared to encounter issues and troubleshoot at this stage.
Test drives should be slow and for short distances at the outset, and it's a good idea to keep a basic tool kit on the bike at all times.
Once some problem-solving and fine-tuning have been completed, the new, custom bike is ready for the road.
Building a motorcycle can be a simple project or a complex one, and customizing a bike can take hours or years.
Generally speaking, it's best to start simple and get more ambitious over time.
It's always a good idea to set a deadline and a budget to keep the project on track; otherwise, distractions or changing expectations can get in the way of finishing it.
It's always better to have a motorcycle that runs than to have a pile of parts rusting in the shed.
Set reasonable expectations, allow time for mistakes, and, above all, have a good time.
You might want to continue watching Dan's series of youtube videos on how to build a motorcycle. Check out how to start:
Conclusion
I hope you enjoyed my article about building your own motorcycle! I know that many people are interested in motorcycles, especially if they're looking for something different than what they currently own. In addition, there are many who would like to learn how to build their own motorcycle. This article will teach you everything you need to know about building a motorcycle from scratch.
Thank you for reading my article about building your first motorcycle. If you liked it, please share it with others and help me spread the word. If you have any question, feel free to put the comment section below.

David Williams is an author with a passion for motorcycles and all things related to the world of two-wheeled vehicles. His expertise is evident on his website, The Moto Expert, where he shares his knowledge and insights with fellow enthusiasts. Follow him on social media to stay up-to-date on the latest motorcycle news, reviews, and trends. Whether you’re a seasoned rider or just starting out, David’s content is sure to inform and entertain. Join his community and become a part of the conversation today.

